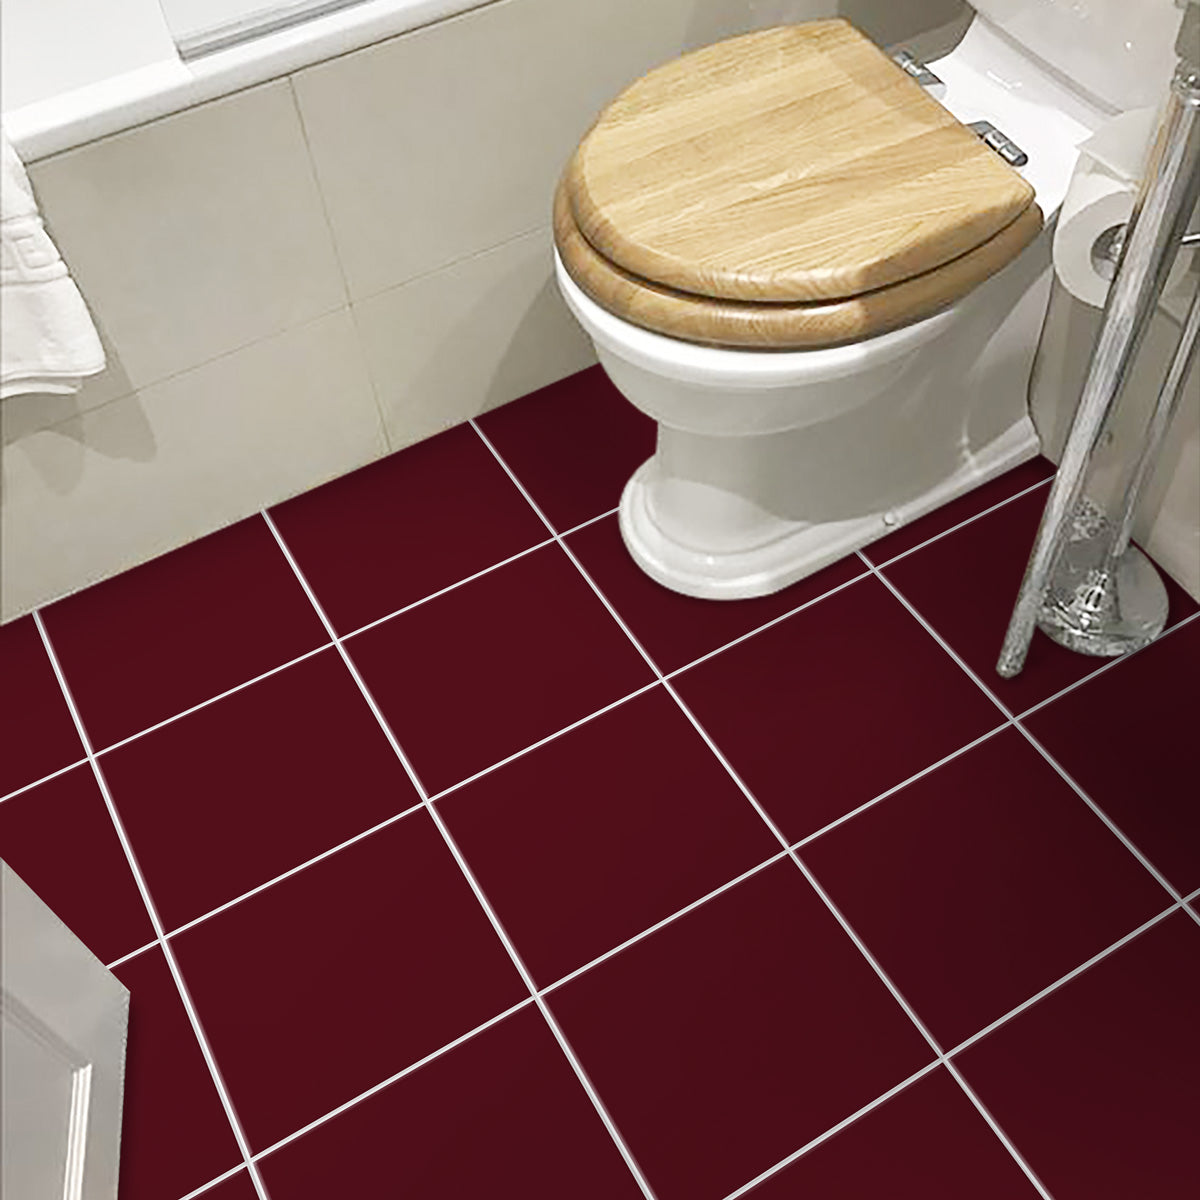
Dreaming of a stunning kitchen backsplash without the mess, cost, or commitment of traditional tiling? Peel and stick tile stickers are the answer. Whether you're renting, renovating on a budget, or simply love switching up your décor, tile stickers offer a beautiful, practical solution.
Why Choose Peel and Stick Tile Stickers for Your Kitchen?
Traditional tile installation requires grout, adhesive, professional tools, and often a professional installer. Peel and stick tile stickers, on the other hand, can be applied in an afternoon with zero mess and zero special skills. They're waterproof, heat-resistant, and designed to withstand the demands of a busy kitchen.
-
No grout, no mess: Skip the messy grout work entirely.
-
Renter-friendly: Remove cleanly without damaging walls.
-
Budget-friendly: A fraction of the cost of real tile.
-
Instant transformation: Transform your kitchen in hours, not days.
Top Tile Sticker Styles for Kitchen Backsplashes
1. Classic Subway & Geometric Patterns
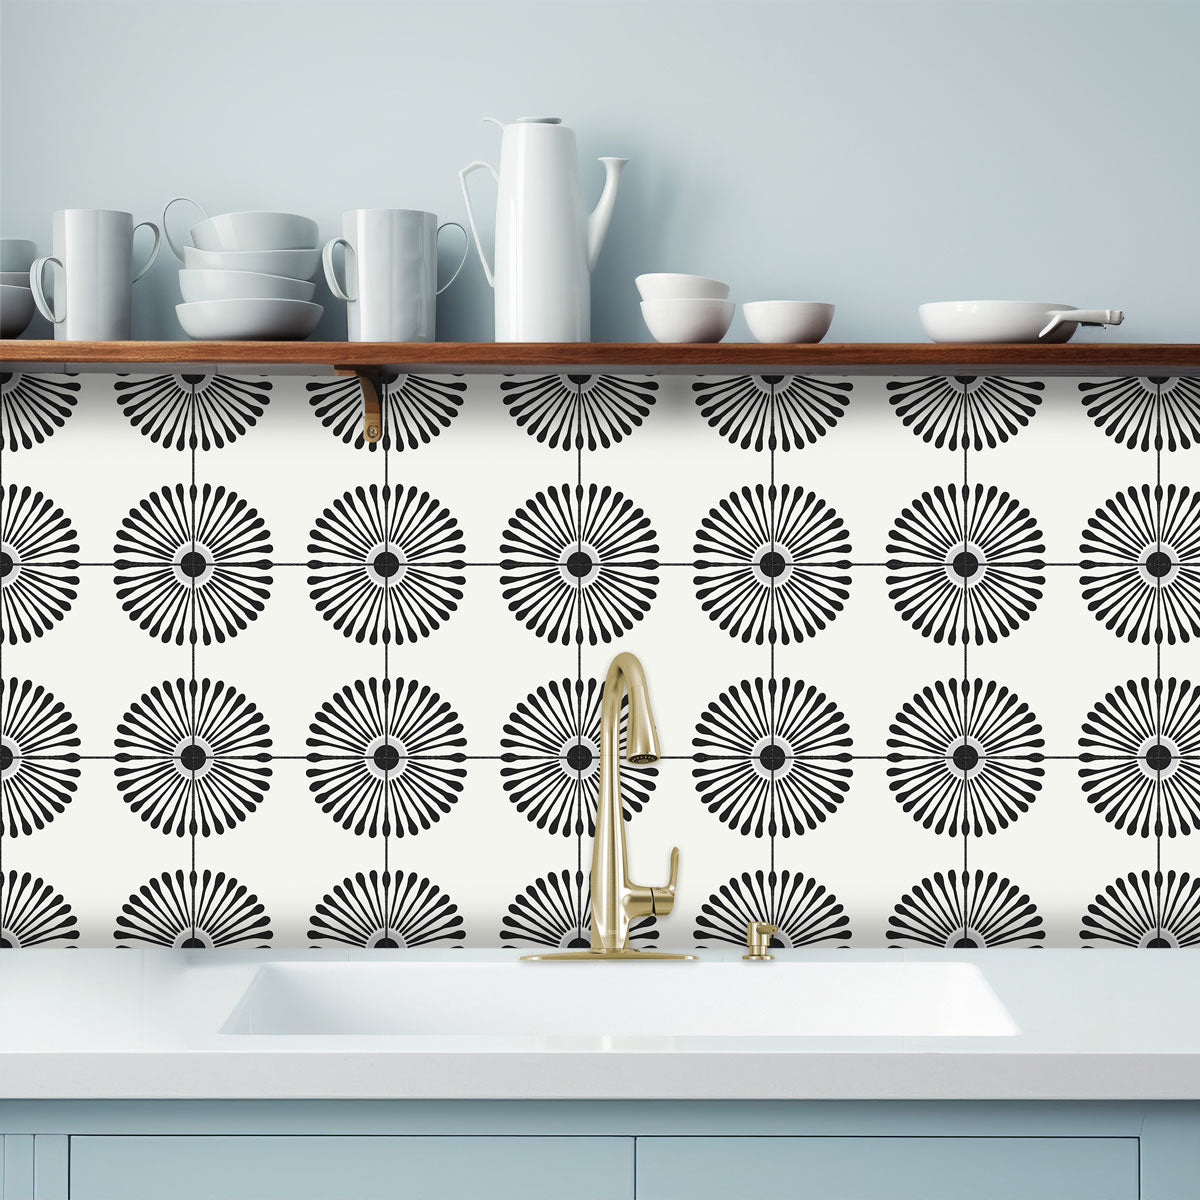
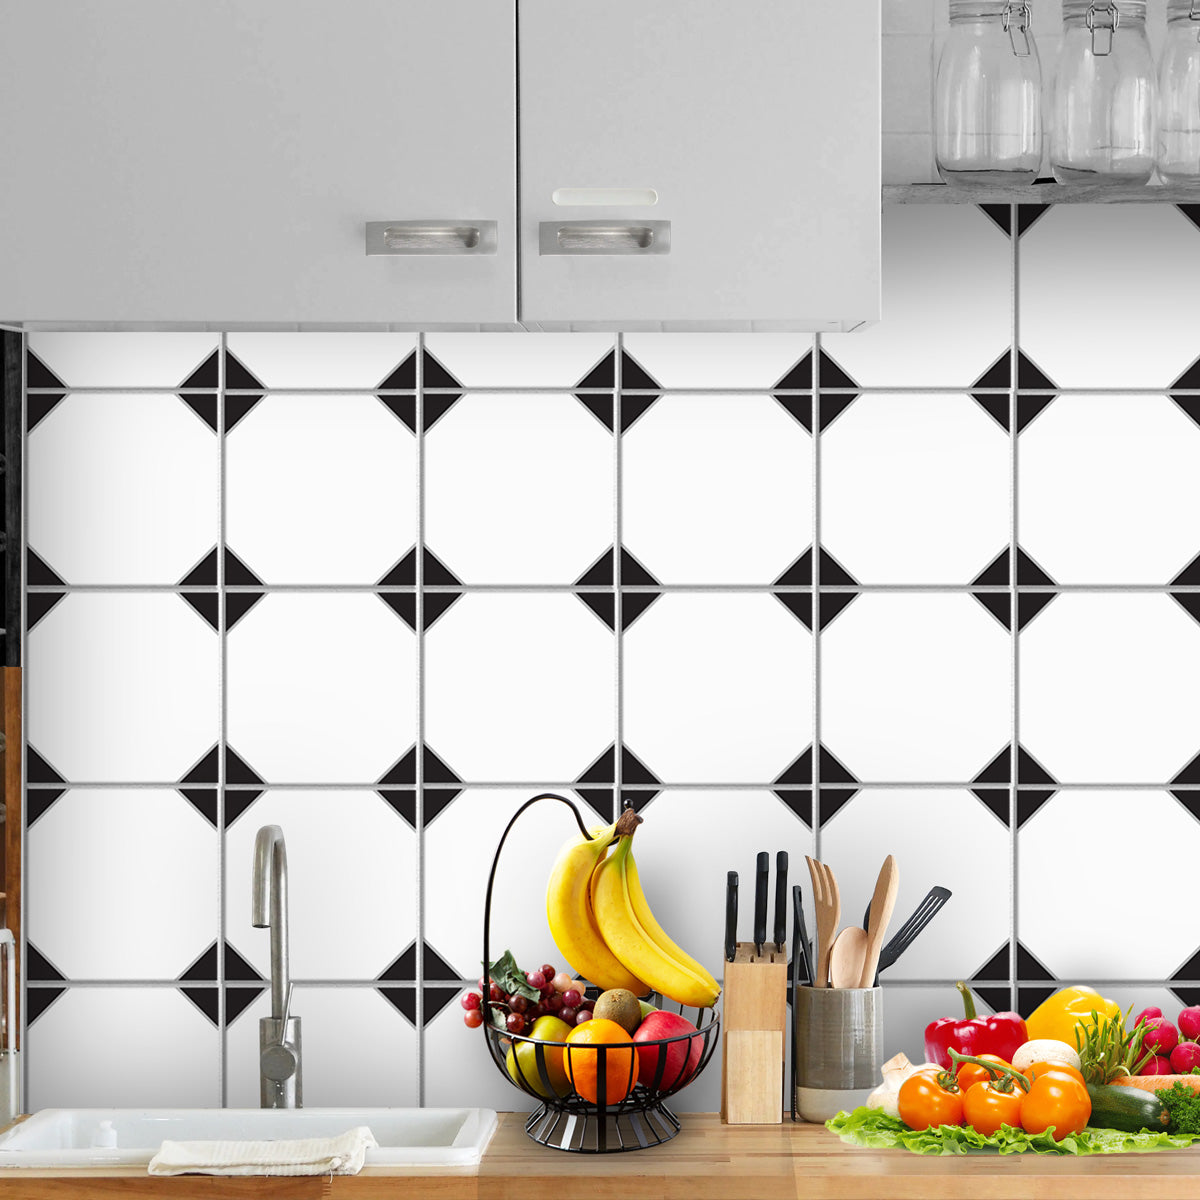
Timeless subway-style and geometric tile stickers work beautifully behind the stove or along the full backsplash wall. They pair well with both modern and traditional kitchen cabinetry.
2. Vintage & Moroccan-Inspired Designs
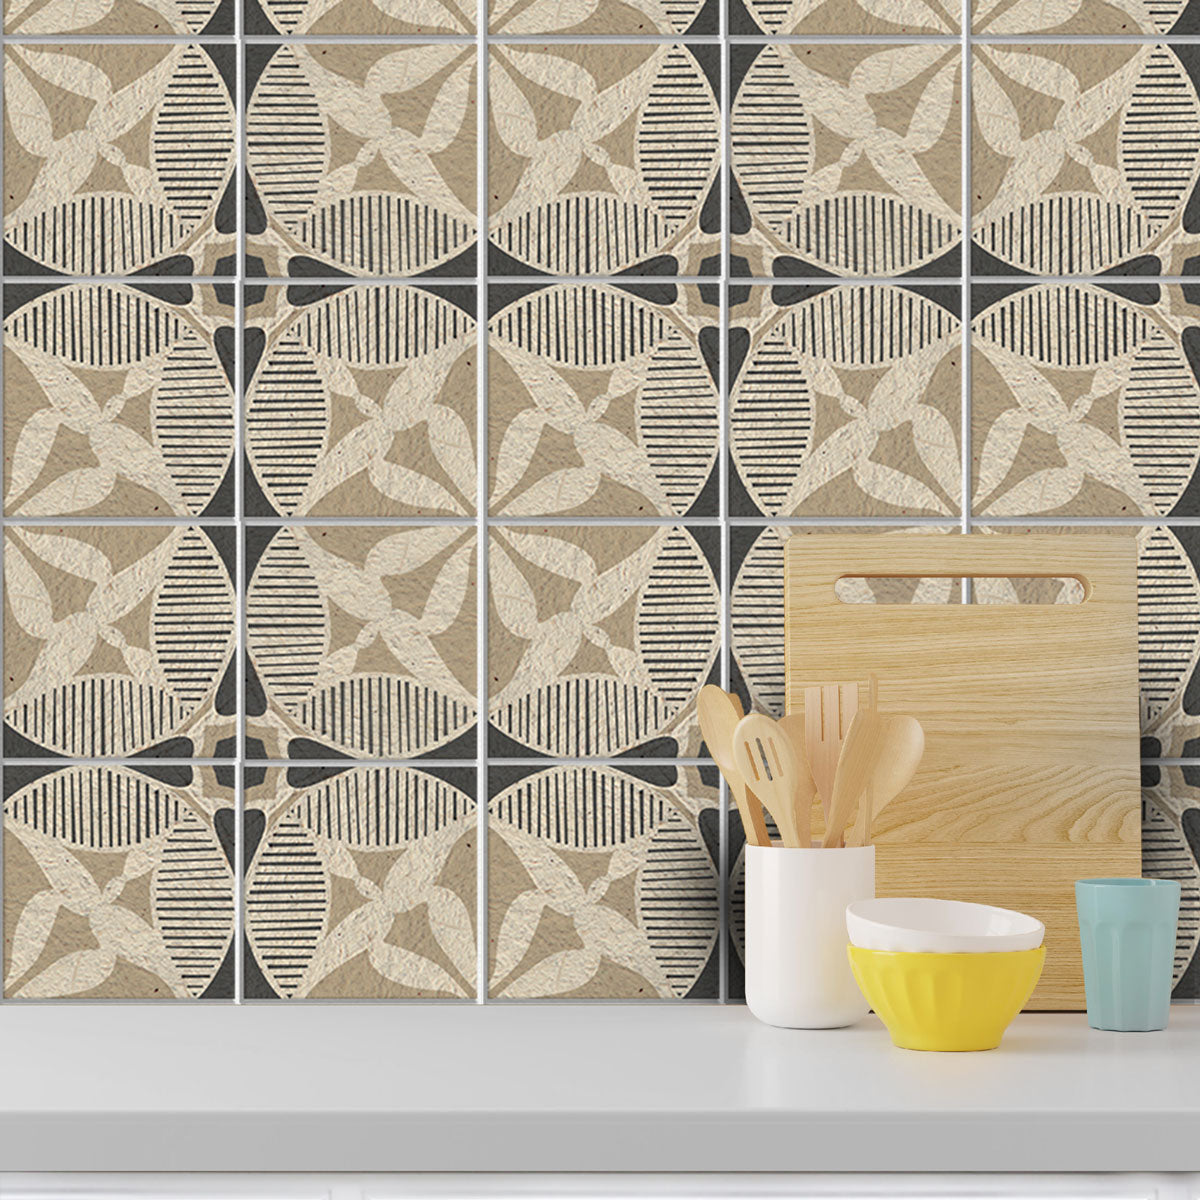
Add a pop of personality with vintage or Moroccan-inspired patterns. These bold designs create a stunning focal point and work especially well in white or neutral kitchens. Explore our full collection for inspiration.
3. Hexagon Tile Stickers
Hexagon patterns are trending in kitchen design. They add a modern, artisanal feel and look especially striking in monochrome or two-tone colour combinations.
4. Solid Colour Tiles
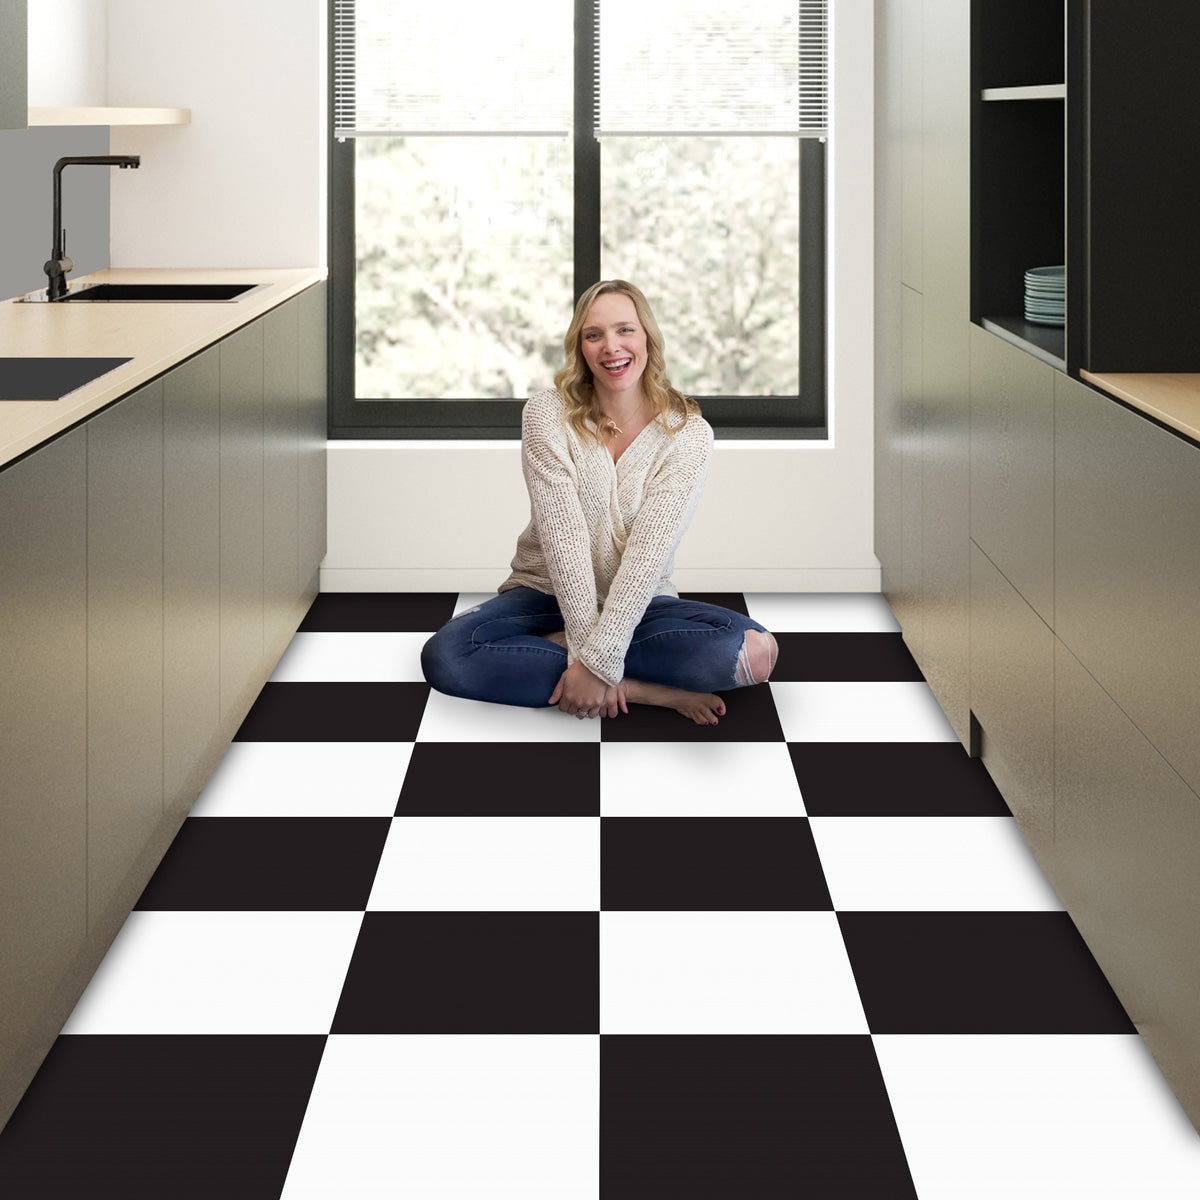
For a sleek, minimalist look, solid colour tile stickers are a perfect choice. Mix and match shades to create a custom checkerboard or ombre effect.
How to Apply Tile Stickers to Your Kitchen Backsplash
-
Clean the surface: Wipe down your existing tiles or wall with a degreaser. The surface must be clean, dry, and smooth.
-
Measure and plan: Measure your backsplash area and plan your layout before peeling any backing.
-
Peel and stick: Starting from a corner or the centre, peel the backing and press firmly onto the surface, smoothing out any air bubbles as you go.
-
Trim edges: Use a sharp craft knife or scissors to trim tiles around outlets, corners, and edges.
-
Seal if needed: For areas directly behind the hob, consider applying a clear sealant along the edges for extra durability.
Shop Our Best-Selling Kitchen Tile Stickers
Ready to transform your kitchen? Browse our best-selling tile stickers — loved by thousands of homeowners for their quality, vibrant colours, and easy application. Not sure which size to order? Check out our Measure and Order guide to get it right the first time.
Frequently Asked Questions
Are tile stickers suitable for behind the stove?
Yes! Our tile stickers are heat-resistant and waterproof, making them suitable for use behind the stove and hob. We recommend leaving a small gap around open flames and applying a sealant along the edges for added protection.
How long do peel and stick tile stickers last?
With proper surface preparation and application, our tile stickers can last several years. They are designed to be durable while still being removable when you're ready for a change.
Can I use tile stickers on painted walls?
Yes, tile stickers work on smooth painted walls. Ensure the paint is fully cured (at least 4 weeks old) and the surface is clean and dry before applying.
Ready to get started? Shop all tile sticker collections and find your perfect kitchen backsplash style today!